The painting finished up on Labor Day and we were able to finally bring back all of the furniture and hang the curtains. So....here are the before and after pictures!
Standing at the Garage Door BEFORE....


and AFTER. The wall came completely down so the kitchen could be bigger.

Standing from the middle of the house (laundry area) looking out BEFORE:

AFTER: You can see right out and can tell which two walls came down to open the area.

The large living area BEFORE:

After: Now is split into TV and dinning areas open to kitchen.

One more angle from the living room BEFORE:

and AFTER:

MY FAVORITE DETAILS.
Some of the little stuff is not as noticeable as two missing walls and a large L shaped island, but it is what makes this small house feel large and functional for a wild family.

No room for a home office, but with custom cabinetry we were able to design a wall unit adjacent to the bar at the same counter height. So, just pull over a bar stool and work on the computer while cooking or watching the kids play.
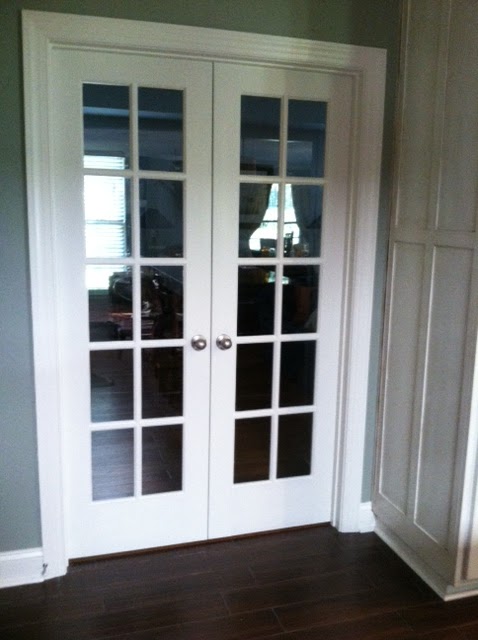
Before, there was a small door to enter the front living. Opening it to a 48 inch French door lets in more light. I plan on using the front formal living (that is never used) as a play area with train table, piano, and craft area.

No room for a mud room. In fact our garage door opens right into the kitchen. So, just steps away from the garage door I also designed a "mud closed" to house lunch boxes, shoes, coats, bags, broom, etc... This was one of my strangest request to the cabinet man, but best ideas. This is what makes custom cabinetry worth the extra money. Much more expensive than stock cabinetry, but much less when you consider I was able to offset the need for two new rooms added on (home office and mud room) but working them into the cabinets.

I am so excited about having a new garage door that actually shuts when pulled!!! I found this vinyl sticker at the Dollar Tree. This is the view from the garage. Why not decorate the view from the garage that my family and I see 8 times a day? You can also have a little fun with this area since it is only seen by family members. Maybe when I get around to it I'll recover the carpeted stairs up to it in a fun color and hand more hooks to the left for book bags.

Previously this was a single patio door. I love my view out now with the double doors. From the sink I can see Camilla and Rex dumping potting soil all over the pavers.
BUDGET SAVING TIPS:
I sold many of the old materials on craigslist (old cabinets, old floor).
I was able to reuse my fridge, stove, and dishwasher.
I found porcelain tile for $1.98 a square foot that looks like wood.
Painted cabinets are more expensive than stained. So, I went half and half so I could afford my favorite - white cabinets.
Bought a floor model dinning room table for $199 and then found 6 chairs on Craigslist for $300.
Installed an expensive ceiling fan in the back living area ($150) with uplighting and downlighting to offset the need for new lighting above the dining area. That would have gotten expensive and probably would have required some new wiring.
I got lucky at one of Queen City Appliance's sales. We had budgeted $250 for a new faucet and found one for $75. We had budgeted $250 for a new, basic microwave and found an upgraded model for $225. We had budgeted $250-300 for a new stainless, undermount sink and found one for $100. All in the same shopping trip to Queen City's warehouse in Charlotte.