Wednesday, August 22, 2012

Fall Garden Update

As I mentioned in an early post, I am redesigning my garden this year.  I have two beds ready to go so that I can plant the Fall Garden into the new design. I am utilizing 8x8 beds and packing them in for maximum yield and minimum grass. Then, Steve and I are going to allow the grass to grow between the beds with a four foot path so that we can get the lawn mower in there.

In the first 8x8 I planted:
9 Broccoli
6 Cabbage
8 Acorn Squash

In the second 8x8 I planted:
3 cauliflower
8 Butternut Squash
(There is a lot of room left in this bed because I want to buy more cauliflower and brussel sprouts once the garden store restocks this week.)

Camilla go involved with the broccoli plants.  Can I draw your attention to the pink boots and pink leggings!

Here is a look at the two 8x8s.  I outlined the beds in an L shape with the tall plants. Then I saved the bottom corners for my squash seeds. Both Acorn and Butternut Squash (all winter squash) start from seed and grow on vines. So, these will need room to spread and curl around.

Tuesday, August 14, 2012

Plan Your Fall Garden

Believe it or not, it is time to plan your fall garden and get the plants in the ground within the next two weeks.  Here is what you need to plant if you live close to or in North Carolina:
Beets
Spinach
Summer Squash for a late harvest
Broccoli
Cabbage
Cauliflower
Collards
All Lettuces
Greens
Winter Squash


By the last week of August you need to plant:
Kale
Radishes
Onions

Once you get into September, it will be too late to plant!

I'll post pictures next week of our fall garden going in.

Back to School

Some of us go "Back to School" shopping.  Well, I go "Back to School" cooking.  During the summer I cook anything I can get my hands on and preserve it for the fall.  This way I can have a home grown, home made dinner even on nights that there are meetings after school, ticket duty at the gate, open house for progress reports, aerobics classes that are a MUST, ........
You get the point!

Here is a look at the freezer back in March when I gave it a good yearly cleaning.
Here is a loot at it today, Tuesday August 14th, the last day before our First Teacher Workday Tomorrow!
And, Camilla taking a look.
Just to point out the Squash Pies at the top with loaves of Zucchini Bread, the soups on the second shelf, and gumbos and more soup on the third shelf. The bottom shelf is baby food I made from steamed, pureed squash mixed with breast milk and frozen in ice cube trays for easy serving once little Rex starts to eat next month.


Keeping Inventory!

If you are going to cook in bulk, it is necessary to keep an inventory of what is in the freezer, or canning shelves, so that you don't forget about your hard work and lose it as waste. Some people prefer to keep a list on the front of the freezer with what is inside and mark it off as they go along.  Well, I can beat that! I keep my inventory on a blank calendar. As I make two batches of Potato Soup, I will schedule Potato Soup somewhere on the calendar twice.  This way, not only do I have an accurate inventory, I am also menu planning at the same time making grocery shopping easier and quicker.

Here is a look at September: Tomato Soup, Okra Etoufee, etc... 


And a look at October......

Provencal Simmer Sauce

Last year I created a wonderful recipe for preserving eggplant, zucchini, and tomatoes from the garden.  Unfortunately, this year, the yield wasn't as great.  Regardless, I decided to make the recipe to preserve what little bit I did have coming in from the garden late in the summer. Since it only made about 2 batches, I decided to freeze rather than can - a great option for small preservation.
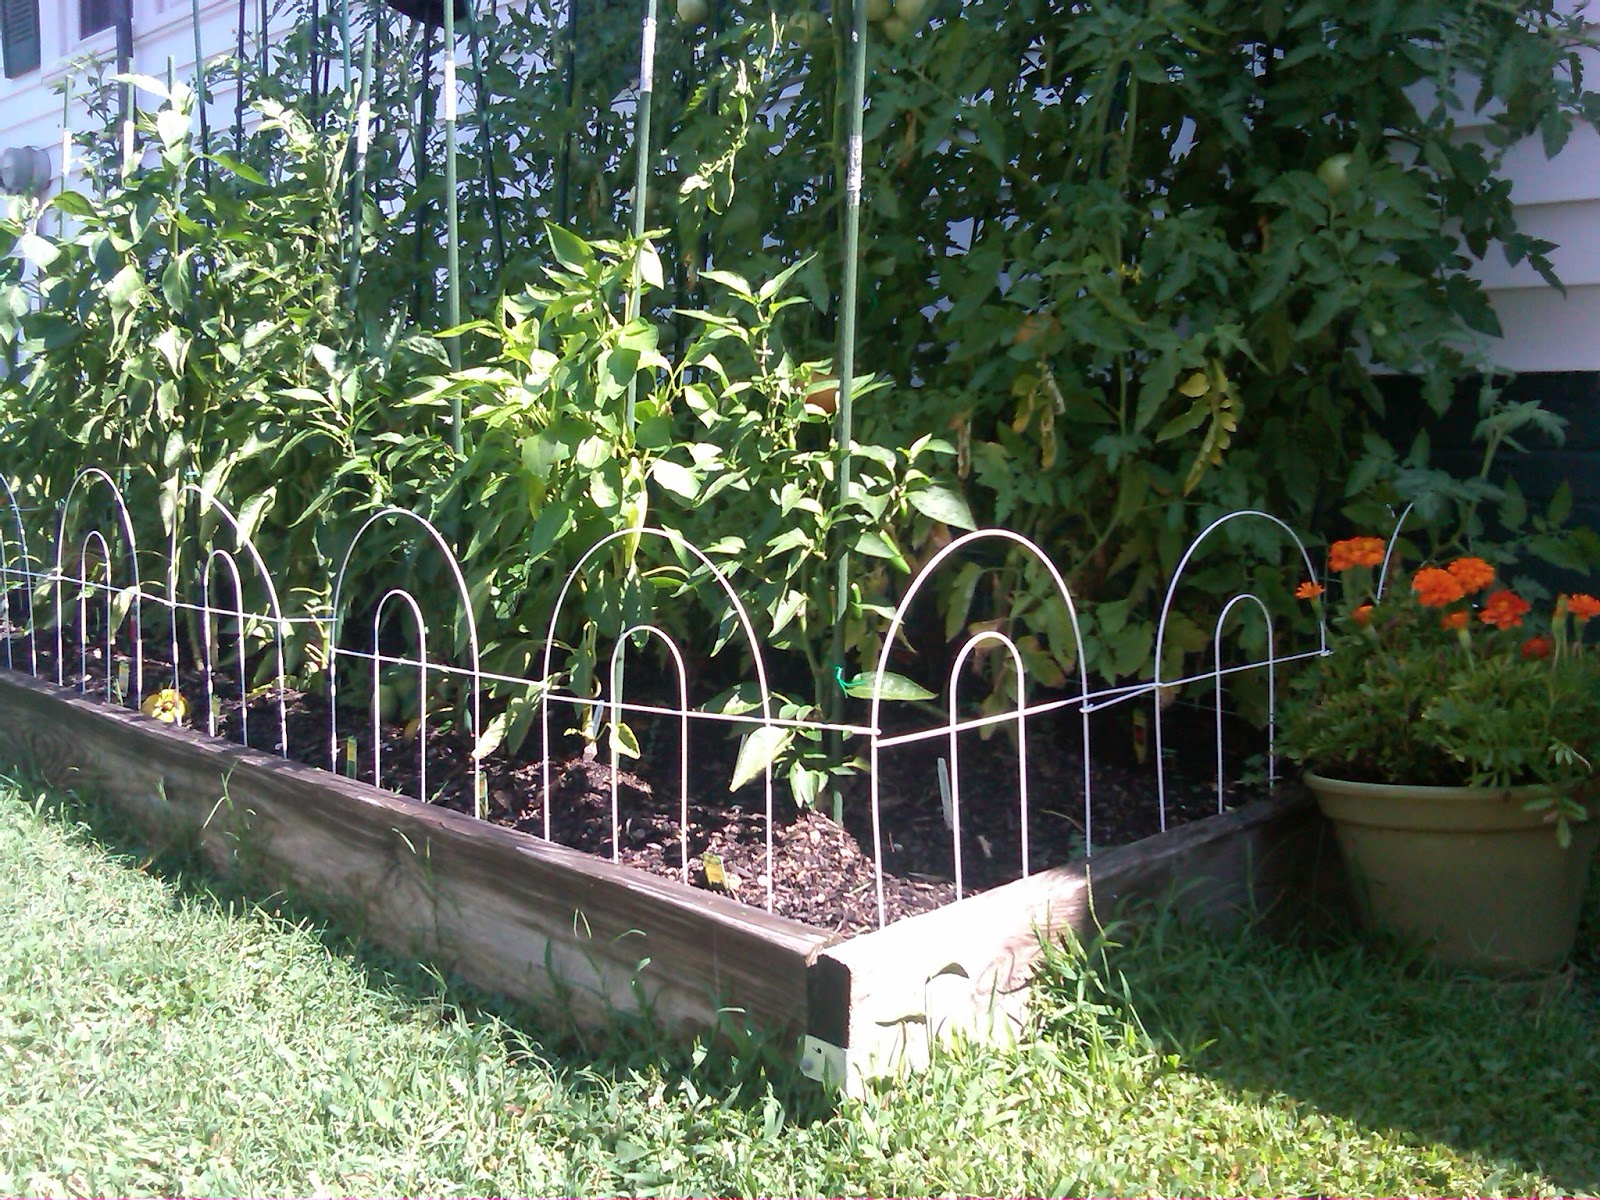
Here is this year's small batch.  At least I will be able to get two meals out of it this fall!

Last Year's Post:
Here is another canning recipe that combines the wonderful flavors of Ratatouille in a ready to serve sauce all year long!

8-10 cups peeled, seeded and chopped tomatoes
2 medium eggplant, cut into 1/2 cubes
5 bell peppers, mixed colors, also chopped into 1/2 cubes
4 medium zucchini cut into 1/2 inch cubes
2 onions diced
1/2 cut fresh chopped basil
1 tablespoon fresh oregano chopped
2 tablespoons fresh thyme chopped
4 tablespoons plus 3 tablespoons olive oil separated
1/2 cup balsamic vinegar
1/2 cup red wine vinegar
1/2 cup pickling salt


1. Prepare tomatoes
2. Blanch peppers (boil for 30 seconds then immerse into ice water). This helps to breakdown the coarse pepper skins for the recipe.
3. Prepare canning jars.
4. In a large (7 qt) saucepan, heat the 4 tablespoons olive oil over medium high heat. Add the onions and cook until golden, about 8 minutes.
5. Add zucchini and saute for 5 minutes stirring often.
6. Toss the remaining 3 tablespoons olive oil with the eggplant making sure to coat it well. You want the eggplant to absorb the oil. Add to the zucchini along with the salt. Stir well, cover and reduce heat to medium cooking for 5 minutes.
7. Add bell peppers and tomatoes and cook for another 2 minutes.
8. Add both vinegars and bring to a boil.
9. Stir in chopped herbs, reduce heat and simmer 20 minutes.
10. Ladle sauce into sterilized jars with one inch of head space.
11. Process in a pressure canner at 11 pounds 45 minutes for pints and 50 minutes for quarts.


Provencal Chicken using the Provencal Simmer Sauce:
1. Heat 1 tablespoon olive oil and 1/8 teaspoon minced garlic in a 2 qt sauce pan over medium high heat.
2. Add sliced chicken breast strips and brown on both sides about 2 minutes each side.
3. Add Provencal sauce (about 1/4 cup per chicken breast).
4. Reduce heat to medium low and simmer for 15 minutes.
5. Serve over Couscous or egg noodles.

Thursday, August 9, 2012

Rules for Raised Beds

During the process of re-designing my garden, I have decided to incorporate some raised beds.  I am hoping that they will help me to maximize my garden yield while minimizing my garden weeds and grass. My sister in-law Leslie has mastered the raised bed by utilizing a small space by her driveway where she gets the best sun. She can pack in so many tomatoes and not worry about driving over them.
She layers in her tomatoes in the back and peppers in the front.

Love the owl as a scarecrow - Must find one for strawberries next spring!
Benefits of Raised Beds:
1. Maximizes small planting spaces.
2. Allows roots to easily grow down rather than outward so more plants can thrive in a comparable amount of space = more herbs, vegetables, and fruits.
3.  Creates an optimum environments for growing by creating nutrient-rich soil.
4. Ability to control pests in a contained area.
5. Raises plants to a comfortable level for gardener requiring less bending.

Rules to Consider:
1. Sun  = Choose a site that gets plenty of sun, even if that is by the driveway or in the front yard.
2. Water = Requires less water because plants are closer together and runoff is eliminated.  Morning is the best time to water.
3. Plant Food = Raised beds require less supplemental plant food because there is no run off.
4. Soil = When creating the bed you have control over the quality of the soil. Therefore, choose high-quality organic mixes and homemade compost.
5. Preventing Intruders = I love Leslie's Big Lots white fence liners.  Whatever works!
6. Size = Aim for a depth of about three feet, the average adult reach without having to step into the bed. The length will be determined by how much space is available.